 Every spring for 4 years now, I've been starting a couple hundred Tumbler tomato plants from seed. I sell most of them at the first Farmer's Market of the season on the May long weekend and some of them stay in my garden to grow on.
I grow them in hanging baskets in my glass greenhouse and in containers outside around my garden....this year, I'm also trying them in the ground in my new hoophouse but that's another story.
 Look at these lovely young tomato plants in the seed starting greenhouse in April, waiting to go to their forever homes.
 My tumblers are really producing beautiful, delicious red cherry tomatoes these days. They make me think of all the fabulous folks I've sold to who are growing them right now on their decks and patios too...many tell me about how much they love them and how well they're doing but I can't help wondering about the one's who may have encountered problems with their tumblers and don't tell me about it.
This past May, I had the opportunity to lead a gathering/workshop at our Home Hardware's Garden Center...we were talking about growing veggies in containers. Lots of people here on Mayne Island grow food crops in containers for various reasons and tomatoes are a real favourite. Thinking about what ideas to talk about at the workshop helped me to organize some issues that we have when we're gardening in containers.
I like to keep the thought in mind that just like we human-beings, plants mostly need food and water to live a productive life...well, sunshine too!
And because container growing pretty much requires creating a natural environment out of an unnatural situation and because we have extreme water shortages here on Mayne during the hot, dry days of summer....growing food crops in containers in a conscientious and sustainable way can be quite a challenge!
 Like most people I know, I water my containers by hand. I've found a system that seems to work really well. I put most of my tumbler tomatoes in hanging pots. The pots are plastic and are fitted into a hanging wire cage that's lined with sphagnum moss...the plastic pot stays moist longer than clay, especially when it's insulated with the moss. When I water them, the water eventually drains through and moistens the moss which helps too. I place another plastic pot that sits in a tray beneath the hanging basket...this year, they're growing cucumbers and as the water drains from the hanging basket, it waters the cucumber pot below. As the cucumber pot drains, the water collects in the tray beneath and as the cucumber pot dries out, the soil absorbs the extra water from the tray...and because cucumbers really hate to dry out, this is ideal for them. Next year, I'm going to try melons! Many things would work tho'...even another tumbler in a pot, under the hanging one.
 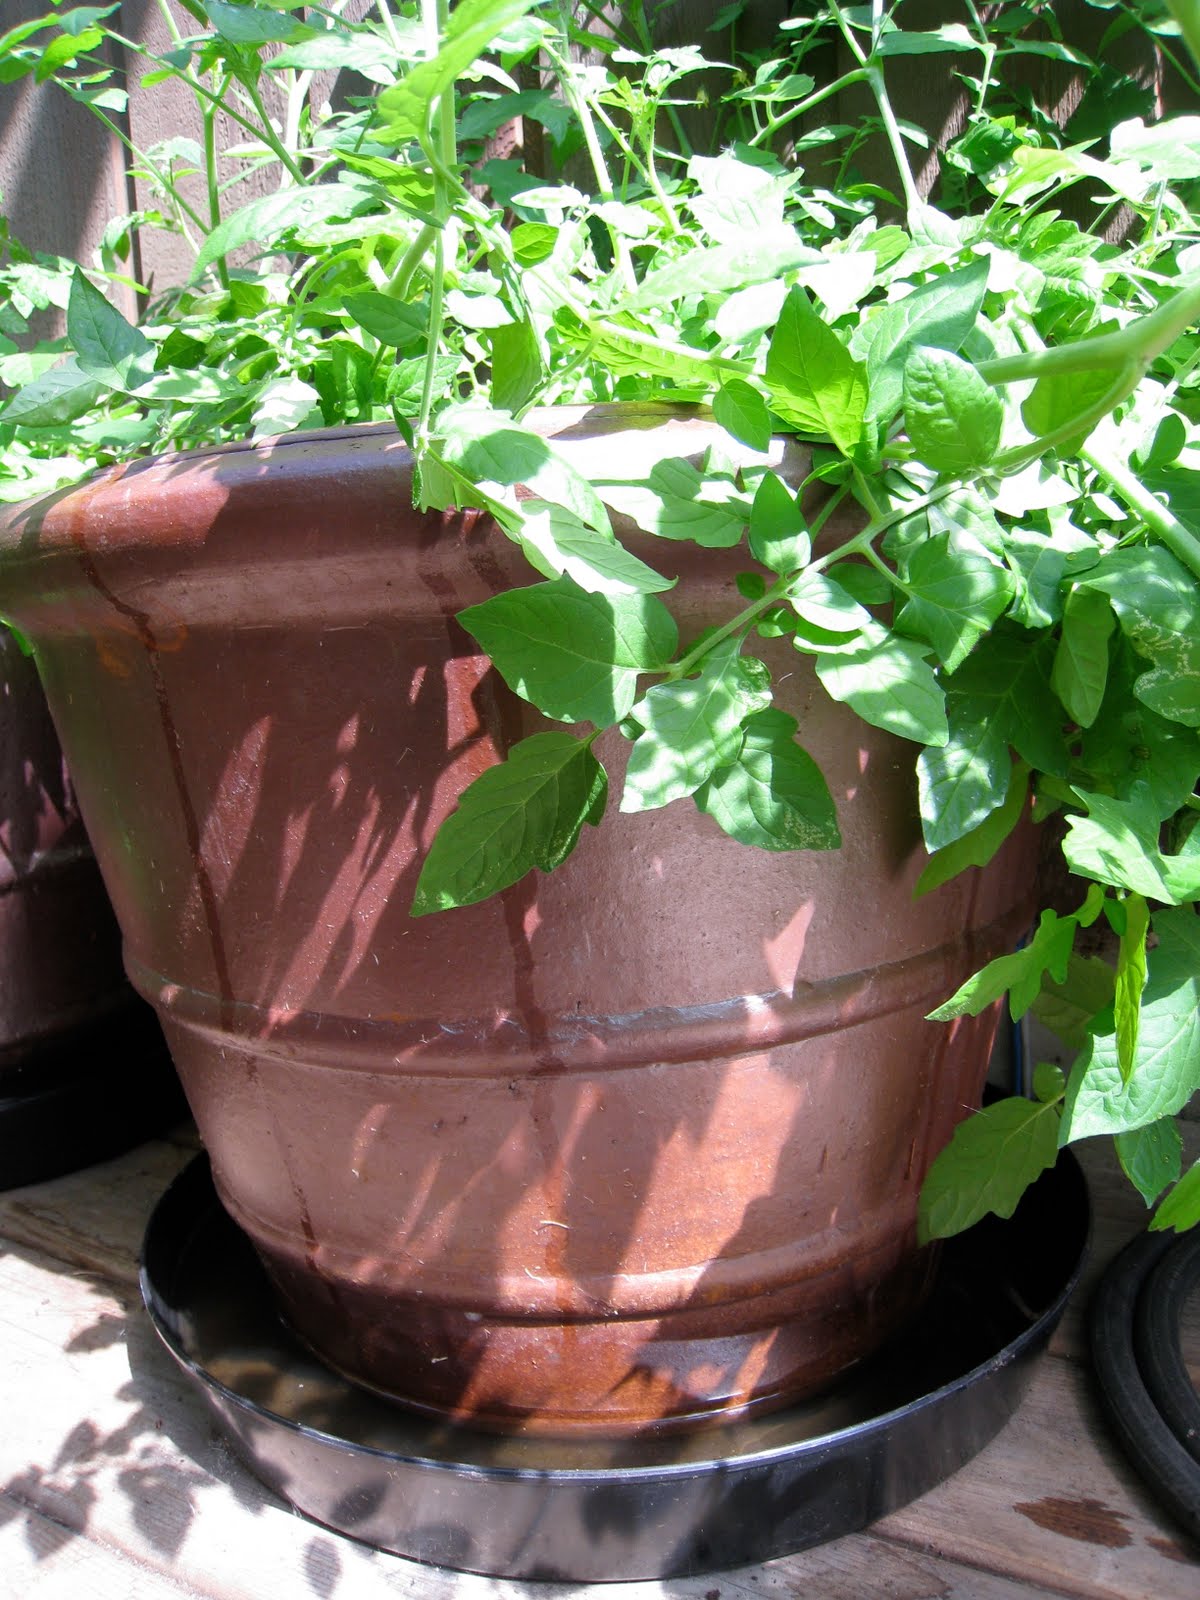 I think it's essential to set all containers in trays for the summertime because water isn't wasted and the pots stay moist for a longer time.
 Another nice thing about this method is that none of the goodness from the complete organic fertilizer and the seaweed tea that I use to feed the tomato plants gets lost and wasted either....more on feeding the tumblers and other container food crops next time....